
Step 3 - Targeting
In the Targeting tab, you can set what this campaign is targeting. Campaigns can target anything from different countries to different devices, browsers and carriers. Options marked with an Asterisk (*) are mandatory, while the others are optional.
Targeting options
You can choose from the following targeting options:
- Locations: Here you can select countries and regions of those countries to target.
- Devices: Here you can select which devices you want to target, for example Desktop and Mobile.
- Operating systems: Here you can select which operating systems you want to target. The operating systems are arranged into Console, Mobile and Web types.
- Languages: Here you can select which languages you wish to target. You can also target or exclude by Unknown languages.
- Browsers: Here you can select which web browsers you wish to target.
- Mobile Carriers: Here you can select which mobile carriers you wish to target when mobile devices are used.
Note: For most targeting options, you can choose whether to Target Selected or Block Selected. For example, You can use the Block Selected option to select all browsers but block Google Chrome.
Time schedule
There is also a day-parting feature to select the exact times when you want your campaigns to run and in which time-zone. This option can be found on Step 2 of creating a campaign, under Show Advanced Targeting Options.
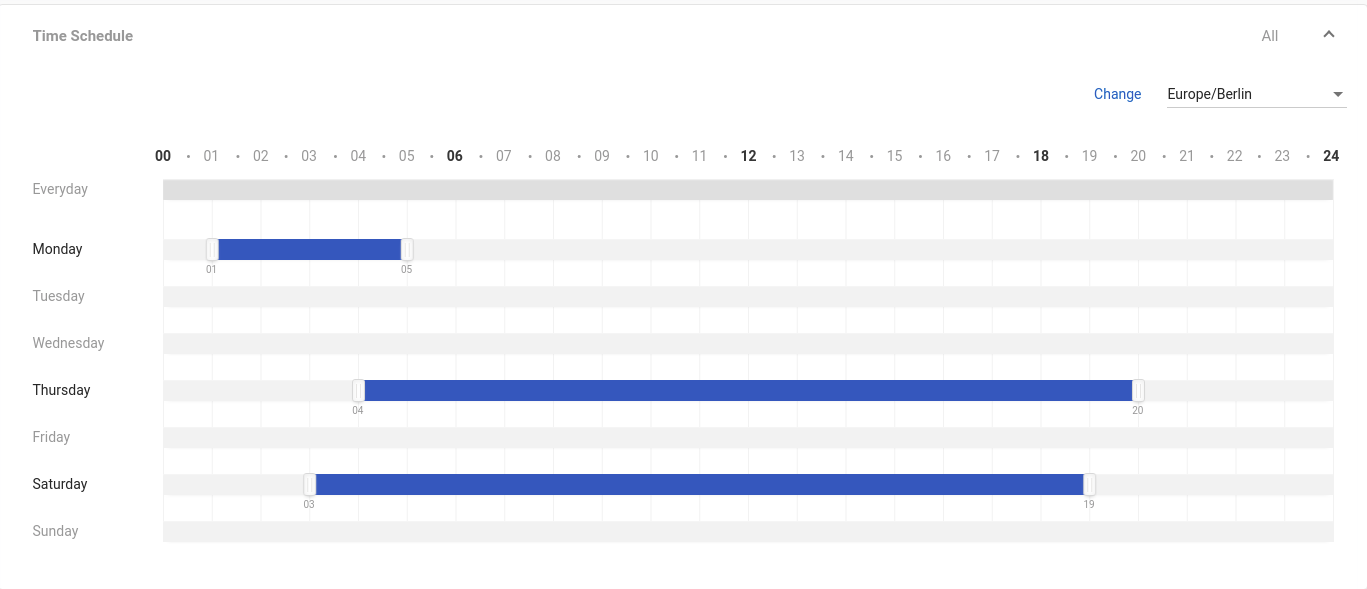
Using this feature, you can choose the times and days you want to schedule your campaign to run. On the right-hand side, just above the ad-schedule box there is a drop-down menu where you can select the time zone for your selection.
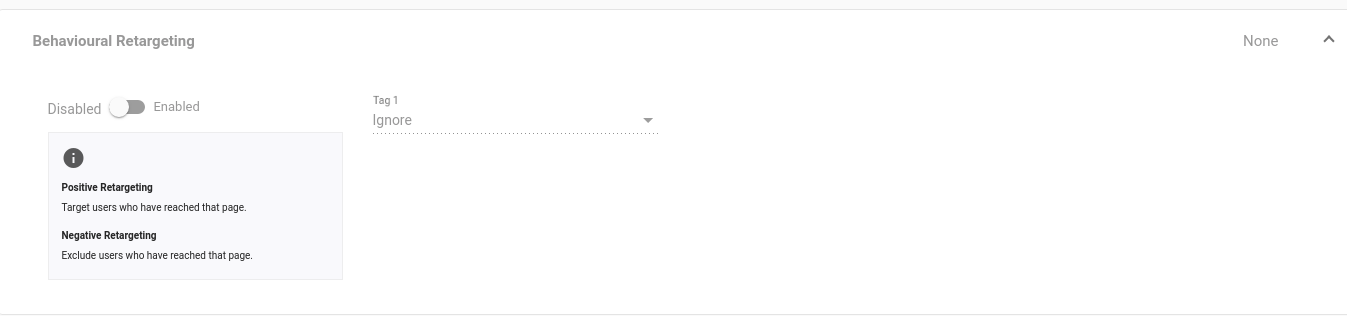
Behavioural retargeting
Here you can target or exclude users who have reached certain Goals. For each goal, select Positive Retargeting or Negative Retargeting from the drop-down. Positive Retargeting means that users who meet a certain goal will be targeted more, while Negative Retargeting means that users who have reached that goal will be targeted less.
This feature is for targeting specific users who have already shown some interest in your product or brand through your campaign, i.e. already visited your product page but haven’t completed the “action” (conversion, sale…) just yet.
The goal of re-targeting is to keep your brand visible for these high potential users and bring them back to your website until they are ready to buy.
To use this feature correctly, it’s necessary to use the tracking pixel consistently and to have run the campaign using this pixel for a minimum of three days before re-targeting. The reason is simple: if the users that see your campaigns have not been flagged by our pixel and fired with our cookie, you won’t be able to re-target them in a new campaign.
Each product is different, so to determine where you should re-target depends on the type of visitors you receive and to which page. You may want to create different groups of re-targeting campaigns. One group targeting the first page, such as the landing page, and another, targeting more frequent visitors, such as those who reached the payment page. In both cases, you should review the click-through rate and conversion rates. Just remember, normally no more than three to four targeting goals are needed.
1. Re-targeting Options
When you re-target, you have to decide which users you want to reach:
- IGNORE: You ask the system not to consider if the user reached that re-targeted page or not.
- POSITIVE: You ask the system to target users who have reached that re-targeted page.
- NEGATIVE: You ask the system to exclude users who have reached that re-targeted page.
Examples of re-targeting:
Note: The more goals you have, the better a push down the conversions funnel you have.
For example: If you set Goal 1 and Goal 2 to Positive Re-targeting this will be classed as an "AND" operation. The system will target visitors who reached any of the landing pages set for G1 and G2.
Eg: If you set Goal 1 (landing), Goal 2 (sign up), and Goal 3 (sale) you could apply Positive or Negative targeting depending on your business strategy.
For instance:
Positive re-targeting on G1 or G2 but negative on G3:
- G1 trying to move users forward to signup.
- G2 trying to move users forward to a sale.
- You will only re-target those users that hit the LP or did the signup and discarding those ones that have already converted.
Positive on G3 but only for the sale of another product:
- Cross-selling in order to keep those users that have already converted and offer them other products.
Negative on G2 and G3 but positive on G1:
- Only retargeting users that hit LP but didn’t do the signup either the sale. Trying to move them to G2 and eventually to G3.
2. Re-targeting and Bidding
As for all campaigns, the higher you bid, the more traffic you receive and the higher your ads will be displayed in the ads rotation. We suggest bidding competitively to make sure you get the first impressions and to reach your re-targeted visitors.
3. Re-targeting Benefit
One key benefit of re-targeting is when it’s more personalized in further steps. As an Advertiser you could display a banner specifically created based on the visitor's previous browsing behaviour that would result in finally convincing them to buy your product.
You should test banners and landing pages directed at people who already know your product, presenting them with a special offer for example. Play with it and perform different tests.
4. Re-targeting with Mobile campaigns
In order to perform re-targeting, our system uses cookies. As a result, it is hard to accomplish re-targeting on mobile offers. You could still try using a normal pixel with the mobile offers in case some mobile device allows cookies.
5. Allowing re-targeting of users who are accessing the Advertiser Landing Page through different sources
When the visitors access the Landing Page, the Tracking Pixel must be embedded in the HTML, either on the accessing page, signup or the payment page. On each occasion, the pixel will be fired, dropping a different cookie depending on what action the visitor took.
The user keeps navigating, and eventually, if they access one of the sites registered on our network, the cookie will identify the visitor and the ad zones on the site will be displaying ads from re-targeting campaigns. Therefore the funnel will start and conversions will be assigned to those campaigns.
Note: Everything depends on what goals you set. However, the system has no control when the user cleans browser cookies, navigates in incognito mode or doesn't access through our network .
Using Positive Retargeting
Using behavioural retargeting you can target or exclude users who have reached certain Goals.
Retargeting is often used to target users who have achieved a certain tracking goal, as these are high potential users who have shown some interest and are therefore more likely to pay for your product.
Negative vs positive retargeting
- When using negative retargeting, you are targeting only users who have not reached a certain goal.
- When using positive retargeting, you are only targeting users who have reached a certain goal:
Important: The above means that positive retargeting is more selective than negative retargeting, as it only targets the small number of users who have reached a conversion tracking goal. Therefore, if positive retargeting is not used correctly, you could end up excluding most users from seeing your campaign.
Furthermore, in order for any of the targeted users to actually see your campaign, you will make sure you set a winning bid.
For these reasons, positive retargeting should be used carefully to ensure that it works for you and does not result in ineffective campaigns.
Example of problematic positive retargeting
An Advertiser sets up a banner that receives 1 Million impressions a day:
0.05% of users click on the ad, meaning there are 500 clicks.
And of these 500 clicks, 0.2% result in a conversion, meaning there is only one conversion.
If the Advertiser uses positive retargeting for this conversion, they will be excluding 999,999 users.
Furthermore, the Advertiser will need to have the winning bid to successfully show their ad to the one user they have targeted.
So we can see here that using positive retargeting in this case would be a poor strategy.
Criteria for successful positive retargeting
For a positive retargeting campaign to be successful:
You should ensure that you have a large enough pool of users who have hit the conversion tracking goal that you are using. Otherwise your campaign will be excluding a large amount of users.
You need to guarantee that your campaign will achieve the winning bid, by setting a high Smart CPM bid price for it. CPC is not appropriate for positive retargeting as it requires some testing and cannot guarantee a winning bid.
It is best used on 'early' conversion tracking goals, to ensure a larger pool of users: If you target users that clicked on an ad, you will be targeting many more than if you target those who have completed a sign-up.
Conversion tracking goals should be set as tracking pixels. This is because retargeting does not work with server-to-server conversion, it works only with cookies.
Virtual Reality
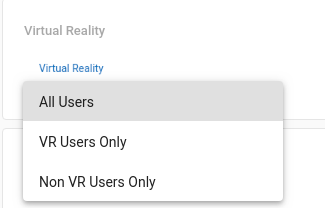
Here you can target or de-target users accessing in a VR environment. VR users can access either from a dedicated device, such as the Oculus Rift/Quest, or from a phone such as the Samsung S6+ placed in a VR headset.
You can select the following options from the drop-down:
- All Users: Targets all users whether using VR devices or not.
- VR Users Only: Targets only users using VR devices.
- Non-VR Users Only: Targets only users not using VR devices.
Domains
Here you can target or block specific domains by putting them in the list of Targeted Domains or Blocked Domains. Put only one domain per line. Remember to omit the http(s):// at the start of the domain name e.g. abcd.com.


Keywords
Here you can target or block specific keywords. Put only one keyword per line.
Keyword targeting allows you to target or exclude keywords. These keywords are either words included in the site domain or terms sent by the publishers through their ad zone tags.
For example, the website www.men-apparel.com has a banner zone which contains the following keywords: underwear, trunks. The terms you can use to target/exclude this ad zone are: men, apparel, underwear, trunks.
Put only one keyword per line and bear in mind that keyword targeting is case-sensitive. Following the previous example, if you add men underwear to your targeting settings, there will be no match because men underwear is treated as a single keyword. You will need to target men and underwear in separate lines in order to receive traffic from this zone.
Note: If you are targeting keywords that are not included in any of the domains or ad zones in our network, your campaign won’t receive traffic. Therefore, we strongly recommend that you add a wide range of keywords to make sure this targeting option provides the desired results.
Lastly, if you would like to use keyword targeting but you don’t know which keywords are sent by the sites and zones in our network, we advise you to add the token {tags} to your campaign URL. You can find out more about our dynamic tags here.
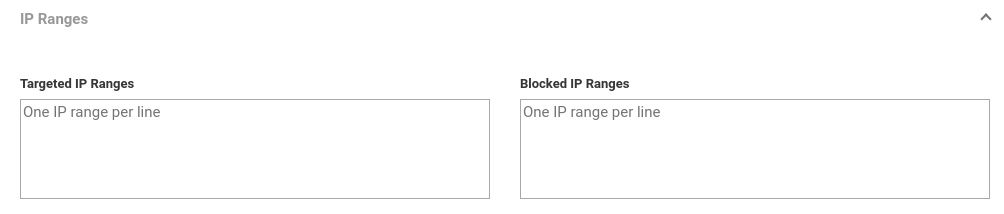
IP Ranges
IP Ranges Targeting allows Advertisers to target or block specific IP addresses/ranges. This is particularly useful for 3/4G carrier targeting, where Advertisers can use additional IP ranges instead of/as well as the current options.
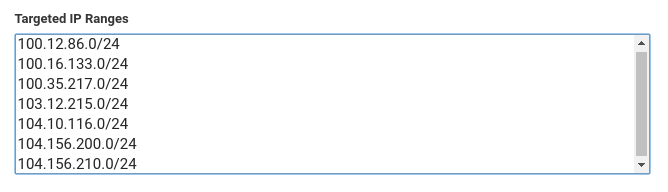
To use this feature, simply enter each IP Range(s) on a separate line in the Targeted IP Ranges field. To block items, place them in the Blocked IP Ranges field.
For every campaign, you can target up to 1,000 lines (separate IP or IP ranges).
When targeting IP ranges, please make sure that they are presented in CIDR format, which allows you to target a range of IPs using only a few bulk IPs. If the IP range looks like (Starting IP from to Ending IP ), for instance: 192.168.0.254–192.168.0.255, you will have to convert it into CIDR format (IP / IP prefix) and then add it to our Admin panel: 192.168.0.254/31
To convert the formats, please use this link.
Note: For Email Banner ad format, the supported Targeting options are Locations, Keywords and Custom Targeting.